|
My Recovery Mode and Slider Overrides are
relatively advanced plugins that demand their own page. So here you go.
We'll start with the simpler one.
200% Slider Overrides
We all know that PathPilot gives you 0–200%
sliders for feed and spindle RPM. They're useful, but it also means 200% of
whatever your NC is programmed at is the ceiling.
So if a program is written and running an
operation at F20, the fastest you can override it with the stock slider is F40.
Similarly, if your program calls S2000, the
most you can get from the stock RPM slider is S4000.
Sometimes that is not enough. Maybe the program
was posted conservatively. Maybe a certain operation can safely run much faster.
Maybe the program was written for steel, but
you need to run the op in brass and don't want to edit a bunch of S and F calls.
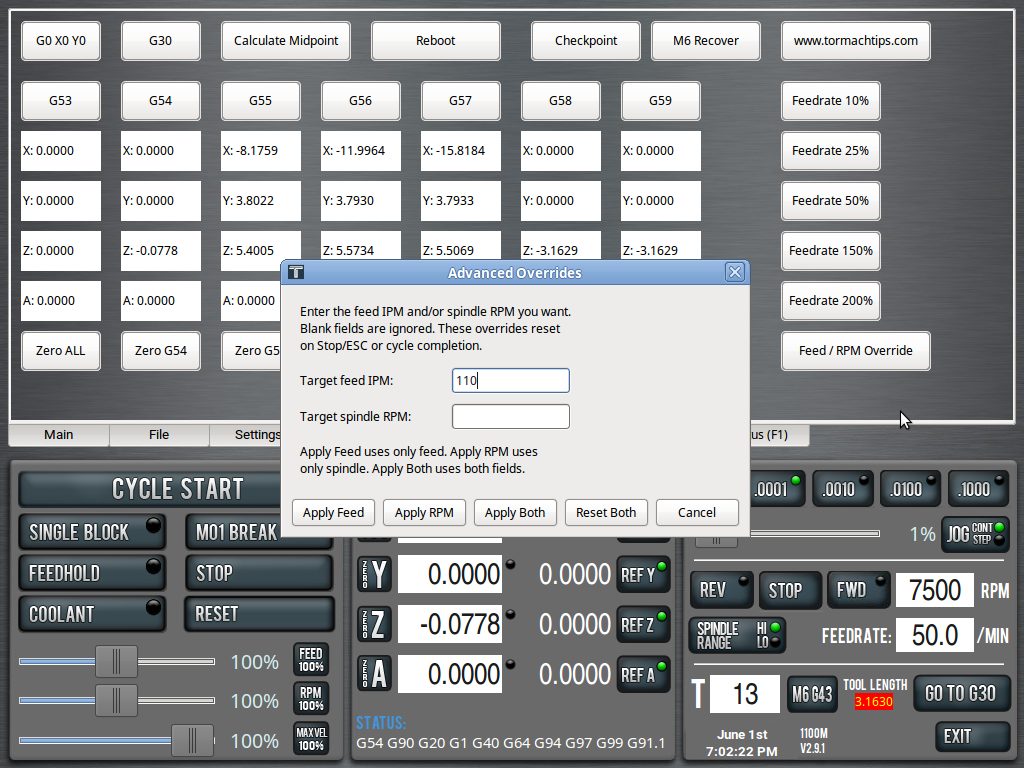
This mod lets you bypass those 200% ceilings.
You can directly set feed and RPM overrides beyond the stock slider range, up to
the machine’s max feedrate and max spindle RPM.
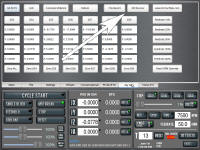
200% Ceiling Override
is part of my Glade Custom Tab script. |
|
Mid-Cycle Jogging (Recovery Modes 1 and 2)
The more involved plugin is what I'm calling
Recovery Mode.
We also all know that once an NC program
starts, you can't jog the machine (rightfully so). Your choices are either to
let the cycle finish as-is, or stop the program, make whatever changes and
manual moves are needed, then restart the program.
But sometimes it would be useful to move the
machine at an M6 call (or anywhere else in the NC program) without losing the
cycle. This is especially important on those 18 hour jobs.
Well, now you can.
With my Recovery Mode plugin, you can interrupt
the NC program at an M6 call, move the machine from a recovery popup, handle
whatever needs attention, return to the saved position, and continue the tool
change / program.
- Need to raise the spindle higher to clear a
tool change? You can.
- Need to clean a gummed-up aluminum cutter?
You can.
- Need to manually drill, ream, touch up, dust
a face, or run a light spring pass where exiting the cycle would be a problem?
You can.

|
M6 Recovery |
M252 Checkpoint Recovery |
Also useful for:
- Replacing a broken or questionable tool
without starting the program over.
- Cleaning aluminum or plastic buildup off a
cutter.
- Skip an entire tool op and "air cut" that op
instead with an empty spindle.
- Moving the spindle out of the way so you can
see or reach the part.
- Checking tool stickout, tool number, holder,
or insert condition before the next cut.
- Clearing chips from a pocket, bore, cutter,
or fixture.
- Adjusting coolant or air blast before the
next tool starts cutting.
- Catching clamp, vise, stock, or fixture
interference before continuing.
- Returning to saved XY only, or returning to
the saved XYZ position.
- It is basically a controlled mid-cycle
escape hatch at M6 tool changes.
How To Use
- The M6 Recovery Mode is fairly
straightforward. Whenever your program reaches an M6 pause, if you need to
move the machine, simply click the M6 button in the Custom Tab. The popup with
all the movements will appear and you can do what you need to do.
- When you're done, click Done and PathPilot
will return to the M6 prompt.
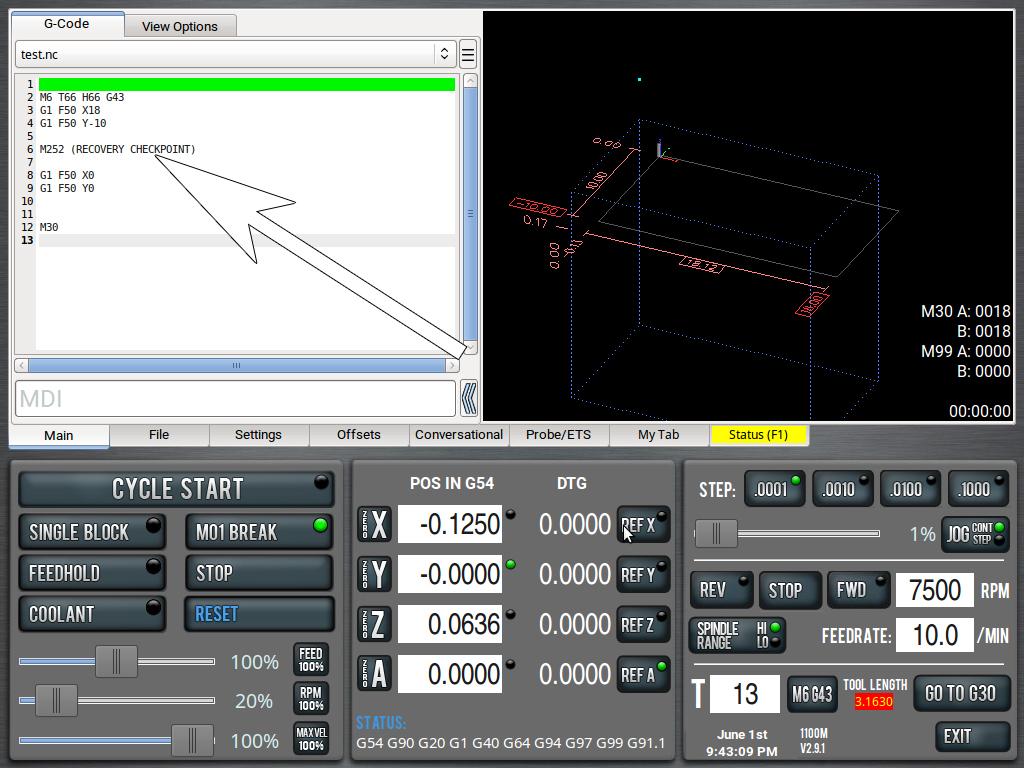
- The M252 Checkpoint is a bit less intuitive
in that it requires M252 calls inserted into your NC program BEFORE IT IS RUN.
I have not yet figured out how to Interrupt an NC program without prior
injections.
- For example, the general idea is if you have
a long NC program, say with a deep pocketing cycle in aluminum, you may want
to insert M252 at pertinent locations in the code. Then, if your cutter starts
to gum up, request an Interrupt by pressing the Recover button and the next
M252 line it reaches, will allow you to move the machine.
- But that's the rub. You have to wait until
the program reaches an M252 line, so you have to preemptively know where to
insert the lines. Now, you can technically insert M252 after every single
line, but makes the machine jerky (because it has to check for an M252
interrupt which takes a few ms). So, like, the best move is M252 placement on
every safety height raise, insert one there.
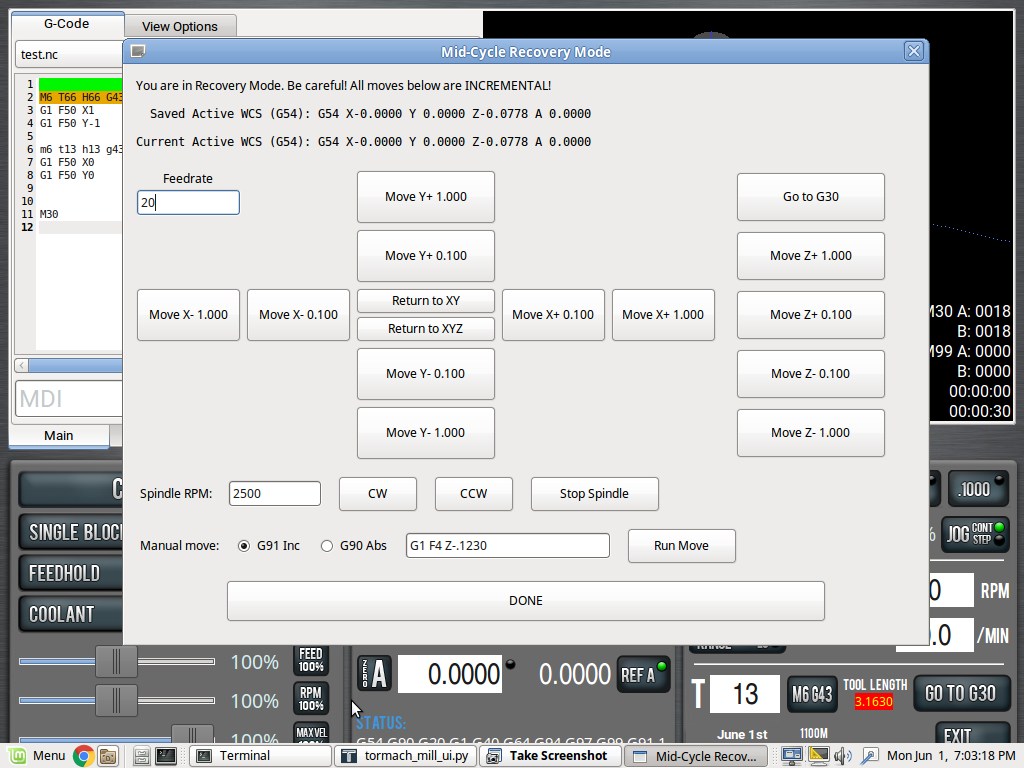
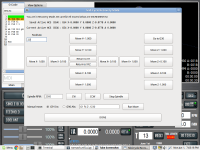
- As far as the Recovery Mode popup itself.
- Unfortunately, I have not yet figured out
how to jog (with like the jog pendant) from inside a paused cycle. Frankly,
you probably can't without major, major hacking.
- So then, we have buttons.
- Each button is in Incremental Mode (G91).
So, where it say Move X1.000 you are not moving to X1, you are moving
1" for every button press.
- There is also, as of this writing, no ABORT
or ESTOP inside the popup. If you move incorrectly, you may need to hit the
physical ESTOP button on your machine to prevent damage.
- I highly recommend toying with Recovery Mode
and learning how it works before you use it on an actual workpiece with actual
cutters.
- The lack of intuitive jogging makes Recovery
Mode a bit cumbersome, but it's better than nothing. You just need to practice
and be sure of your moves before you click a button.
- It works fine for things like going to G30,
removing build up and returning to position, but it's fragile for actual
cutting moves unless they're relatively simple.
Both the M6 Interrupt and the M252 Checkpoint
Interrupt require the
Recovery Mode Plugin and the
Glade Custom Tab Plugin. |